A Journey of 10000 Pieces

Some months back I found out I had a refund check owed to me by an old dentist. It wasn’t a ton of money, but I, my Lego obsession fully rekindled, joked with my wife that I should spend it on Lego. And not just any Lego, but the biggest one I could come up with on the spot. The Eiffel Tower.

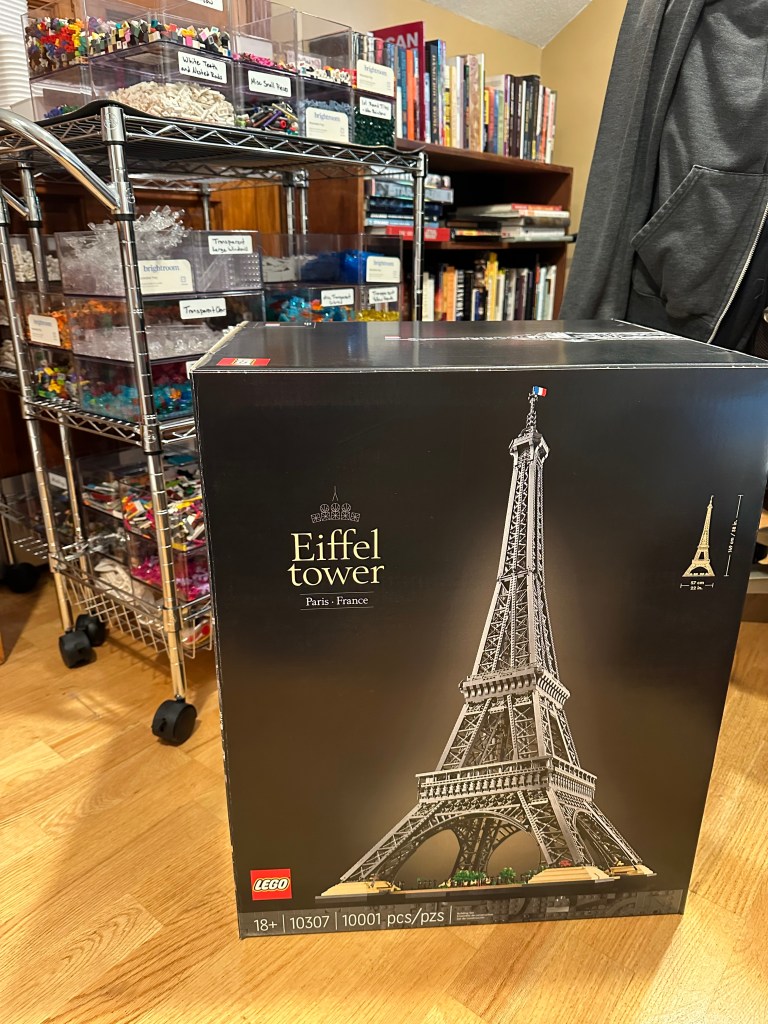
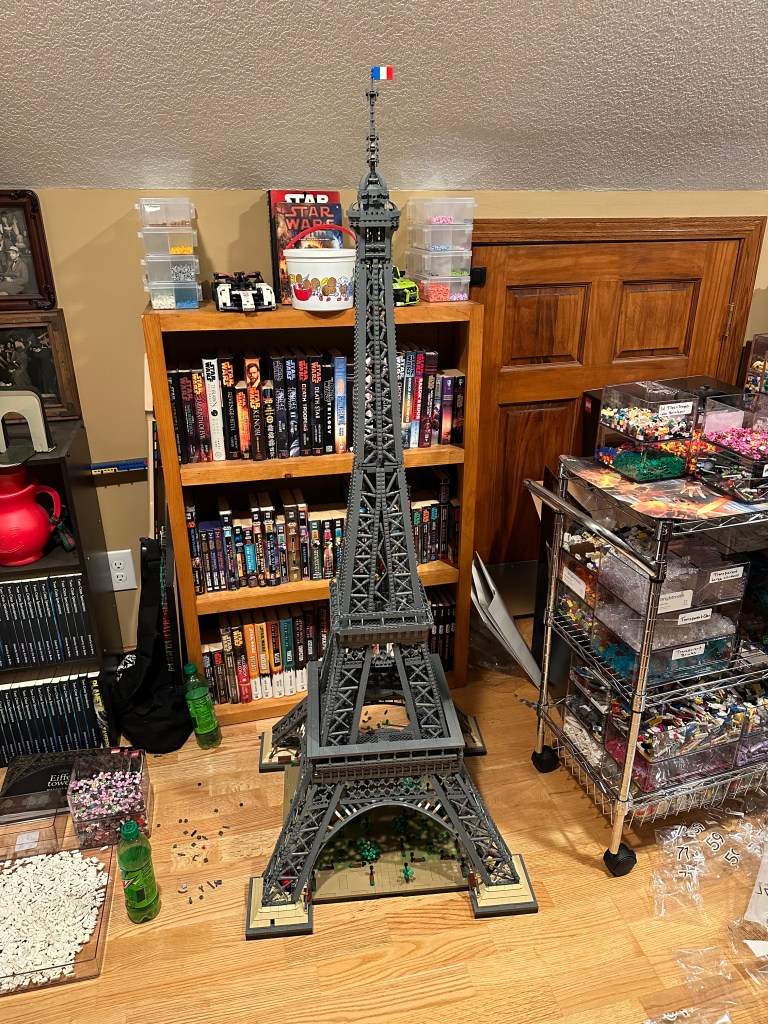
For those who don’t know, the Lego Eiffel Tower set is a whopping 10001 pieces and stands about five feet tall. With a nearly two foot square base, it’s a massive set. And it comes with a massive price tag. Far more than my piddly refund check could cover, and far more than my wife would allow without looking up how to draft divorce papers.

But the joke had been made, and I’ve never been one to let a joke go, good or bad.

So when Christmas rolled around and we got some cash with which to buy ourselves presents, of course I had to champion the tower. My birthday was the following month. Eiffel Tower please. We got our tax return. Eiffel Tower! No such luck. Not that I was actually expecting it.

But then one fateful day, my wife got a promotion, and with it, a pay bump. I was out of town when the news came in, so I texted her “Eiffel Tower?!?!?!” Her response was immediate.

”Sure.”

Apparently she’d already decided that each of us should treat themselves (she got official Barbie roller blades and other paraphernalia), and was just waiting for me to ask.

As you can imagine, after much agonizing and debate, I ordered the Eiffel Tower.

I knew the box would be large. But I didn’t realize exactly how large. The giant cardboard box left at my doorstep could have fit a couple of small children, or one of those window AC units. Pretty sure my 100 pound German Shepherd would have been cozy inside. I opened the box to find… another box. Talk about building suspense, Lego.

Inside that box was the actual box. The big kahuna. I immediately took a pic and sent it to my family, who of course all knew the ongoing joke and that it was becoming a reality. I got several messages that for some reason had similar concerns.

Don’t do it all in one day.

Well, considering it’d arrived in the afternoon, and there were baby bathes and kid bedtimes to handle and stuff like that, doing it that day was out of the question. Had I received The Eiffel Tower at 8am and before becoming a parent, it totally would have been a single-day build, blisters be damned.

Back to the box(es). I carried the shiny new box upstairs where The Eiffel Tower would stand when completed and opened it up. Only to find three more boxes. Sooooo much cardboard. Each of the three smaller boxes seemed larger than any other single Lego box I’ve ever had. My inherently faulty memory and in-the-moment elation may have influenced that assumption, but if it’s not true, it isn’t by much.

And now: time to build.

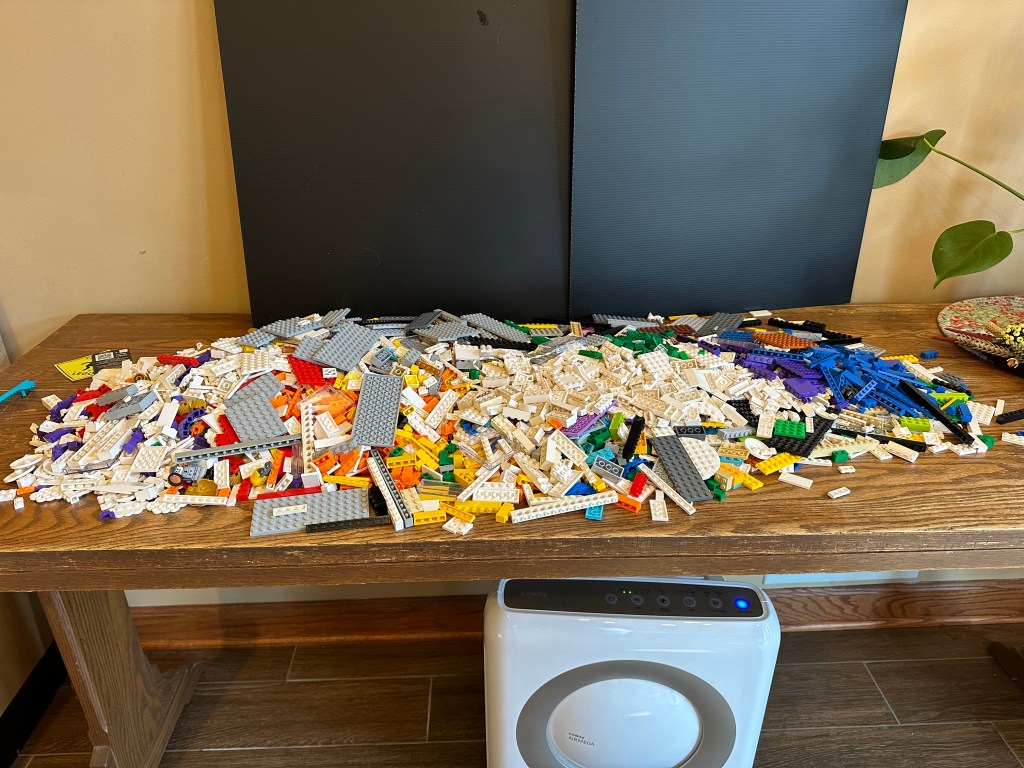
Normally I do builds on the dining room table. But that’s downstairs, and no way was I going to carry a five foot tall tower up the stairs and risk it falling or smacking into something. So I built it. On the floor. I’ll be 40 years old next year. Do you know what sitting on hardwood floors for hours on end does to a middle-aged body? Let’s just say I was more sore from one night of building on the floor than I was from doing the world’s largest bouncy house non-stop with my kid for three hours.

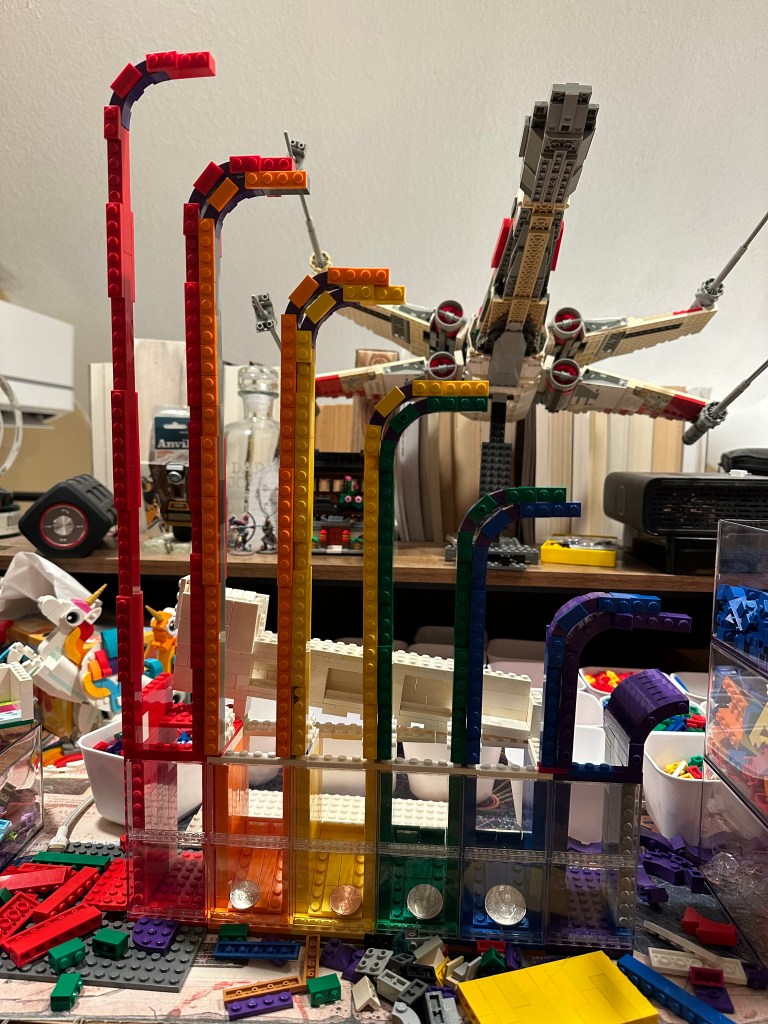
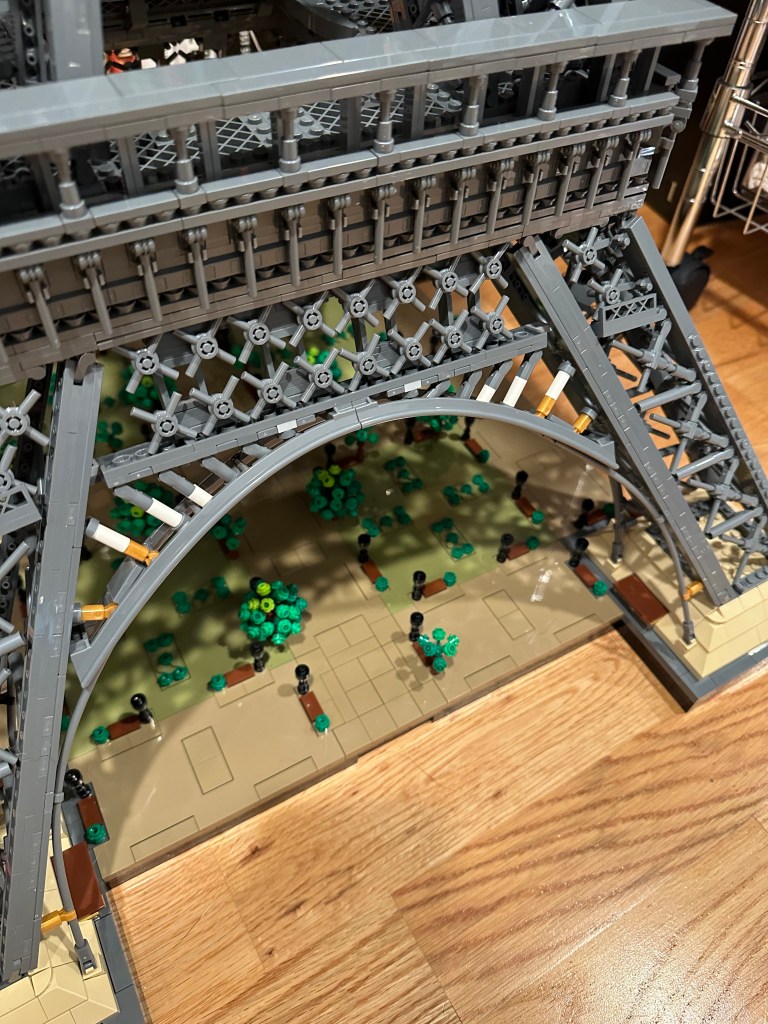
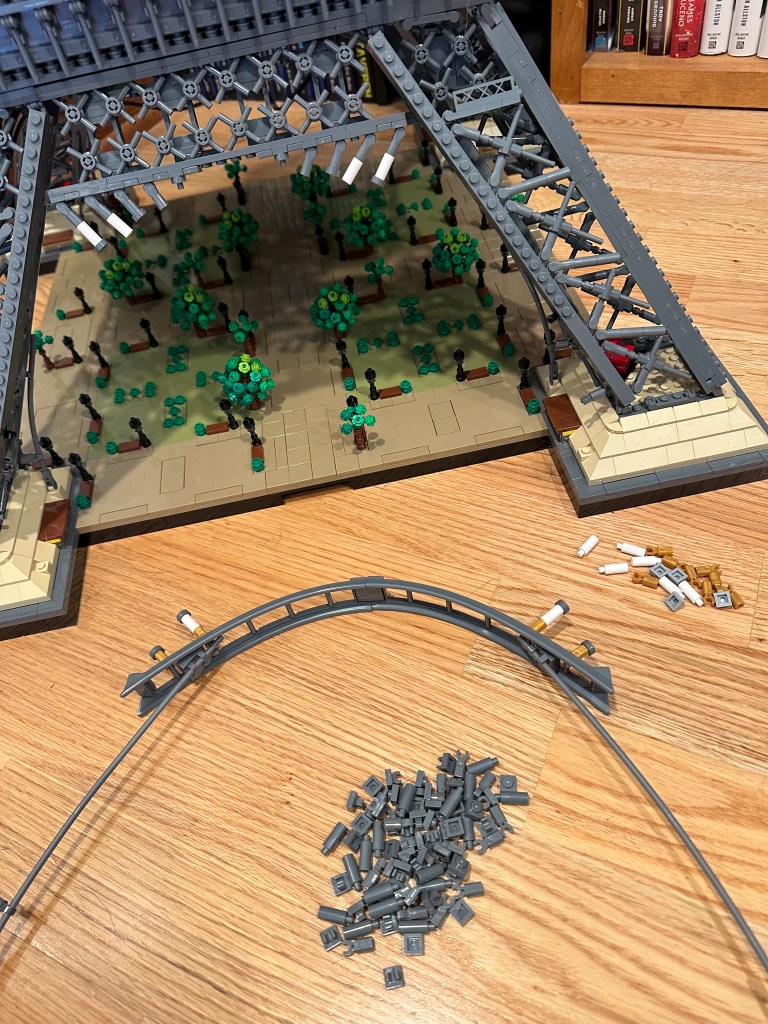
Evening one was just the base and the first layer of supports. Those trees got a bit monotonous, along with the trusses running up and down the legs of the tower. Especially the trusses. I was a little confused as to the red and yellow pieces on opposite legs, but it made sense once I resumed the next day.

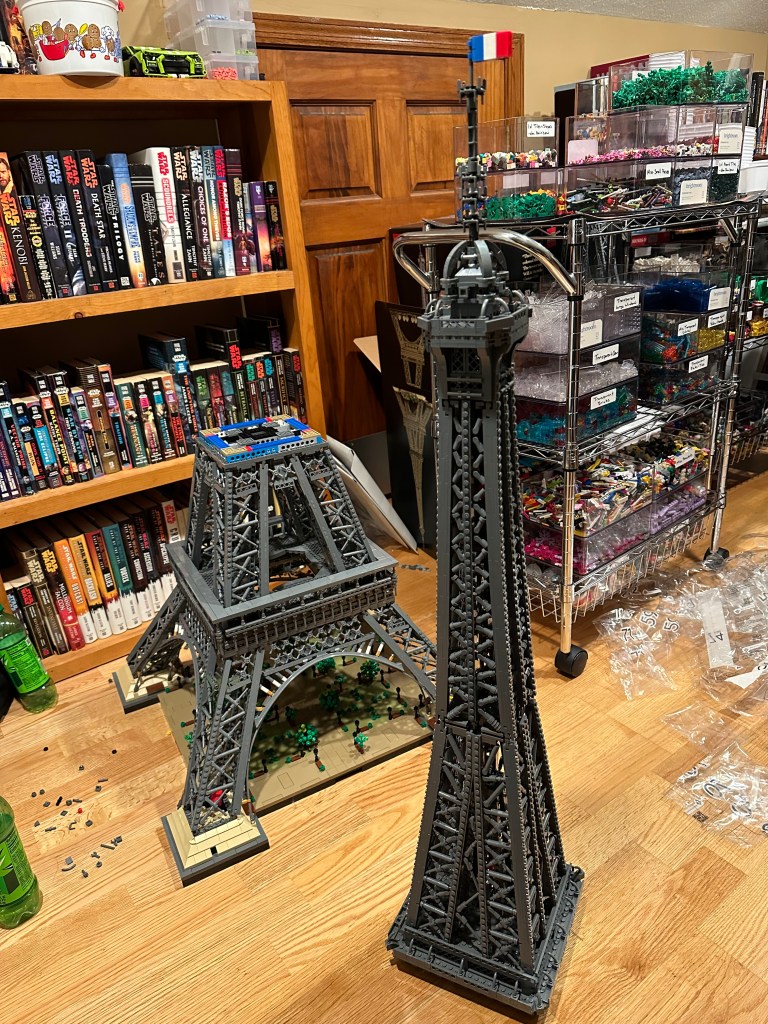
Build evening number two was cut short for reasons, and I was only able to get up to the blue pieces, not the smaller section of tower standing next to it. Part of the delay was just family stuff. Another part was something new for me with Lego sets.

Everyone so often there’ll be a piece missing from a set. Something at the factory didn’t go right and a small 1×1 plate will be missing. Lego is great as sending replacement parts if this happens, and it’s never really been a big deal, especially when my sorted inventory of pieces has a replacement I can use. This time, it wasn’t just one piece missing.

As most Lego builders know, there are numbered plastic bags that you open in order as you progress through the set. Inside those bags will sometimes be smaller plastic bags filled with a bunch of really small pieces. Bag 32 was once such bag. There were multiple small bags within. The only problem was that one of the smaller bags was the wrong bag. What that meant was I was missing not one, but ninety-six pieces. On the plus side, the wrong bag that was in there ended up being entirely extra pieces that found their way into my bins for future projects.

But I was missing a lot of pieces. What was I to do? First, I tried to find replacement parts for all the pieces. That sort of worked. All the pieces were that same dark grey color. I had plenty of the right type of piece, just not enough in dark grey. So The Eiffel Tower got a temporary paint job.

Each of the four sides looked like this. Luckily, this section wasn’t structurally significant, so when the replacement pieces arrived, swapping them out proved not too difficult.

When you go to the Lego site to request a missing piece, it’s an easy and basic form to fill out where you can look up the piece, enter your info, and boom, it’s on its way. But it was designed to replace one or two pieces at a time. Not ninety-six. Looking up and adding those one at a time would have taken forever, so instead I emailed customer service and explained the situation. After a couple of emails back and forth, the pieces were on their way. Super helpful and understanding.

While the actual, fully complete Eiffel Tower took a couple of weeks because of the replacement parts, I built the (with replacements) whole thing over three evenings. Part of me wanted to see if I could speed build the thing. I looked up the record for the set’s fastest build, and it is 9 hours, 14 minutes, and 32 seconds. I didn’t use a stop watch, but even with the hunting for replacement parts and constant shifting on the floor as my hips let me know how unhappy they were with my life choices, I don’t think I was too far off from that mark. If I assembled everything from a comfy chair at the table and had the proper pieces waiting for me… it could happen. I’ve always thought I was a speedy builder, and if I ever felt like disassembling and reassembling all 10001 pieces, I might have to give the record a go.

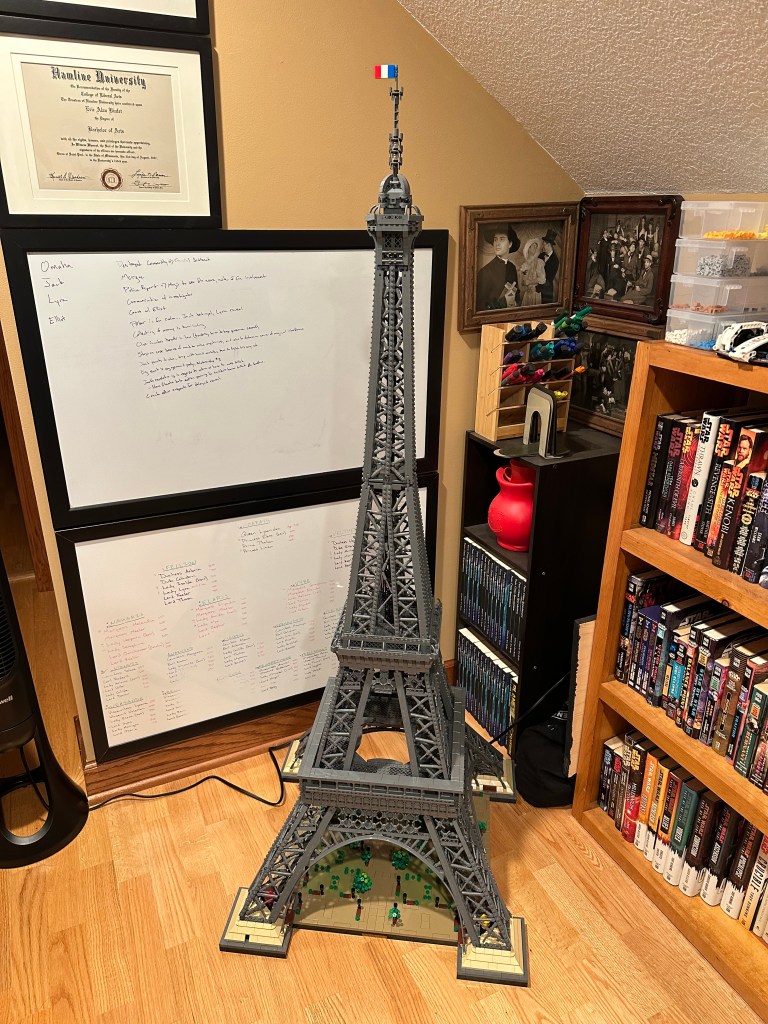
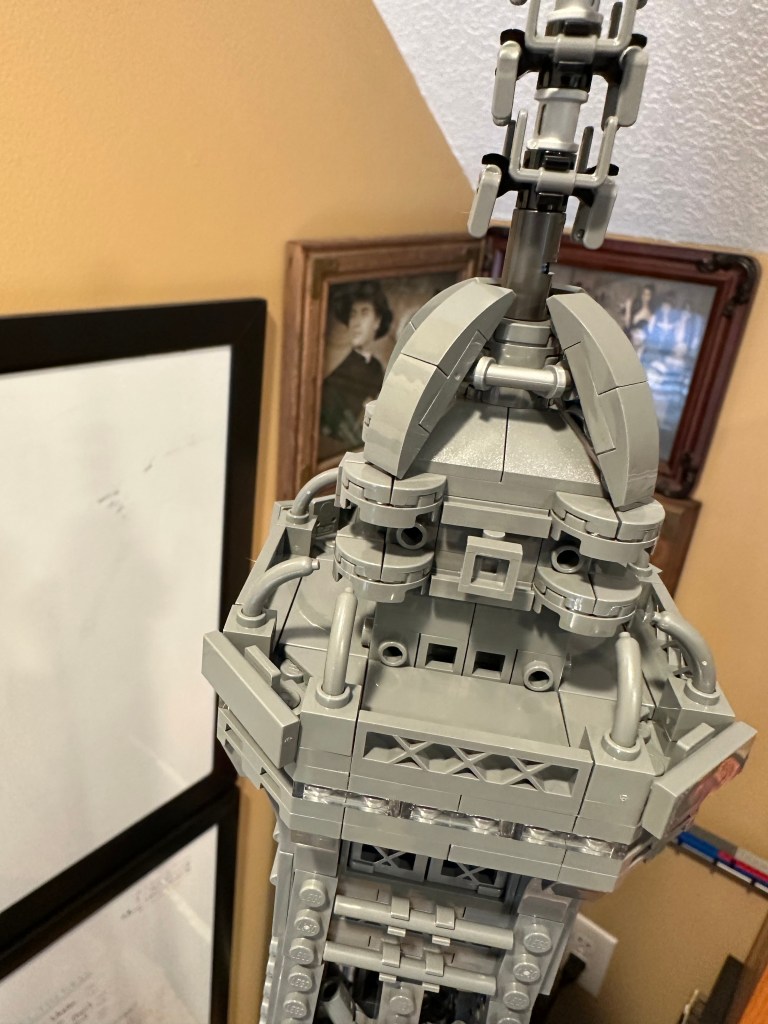
Now that it’s completed, it’s standing tall in the corner of my office. Before it arrived, I had briefly thought about using it as a bulletin board, hanging up character and plot ideas for later, but once I assembled it I realized the top was far too narrow for that. So instead I just have to lean this way or that to see my whiteboard notes. I can live with that. 🙂

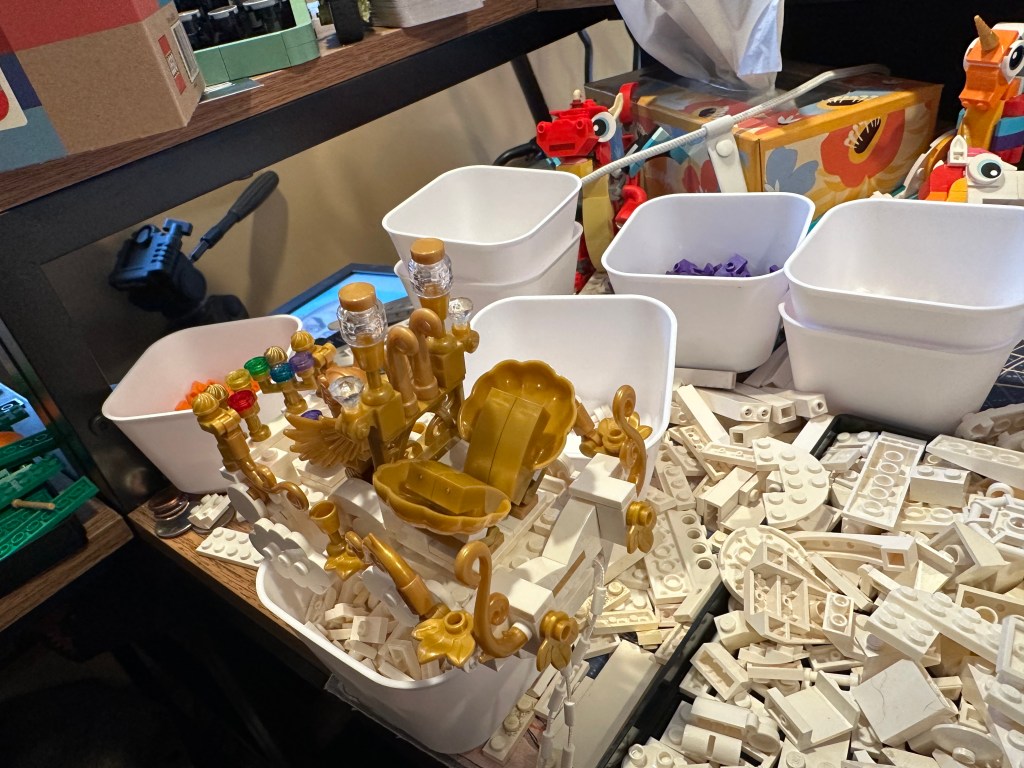
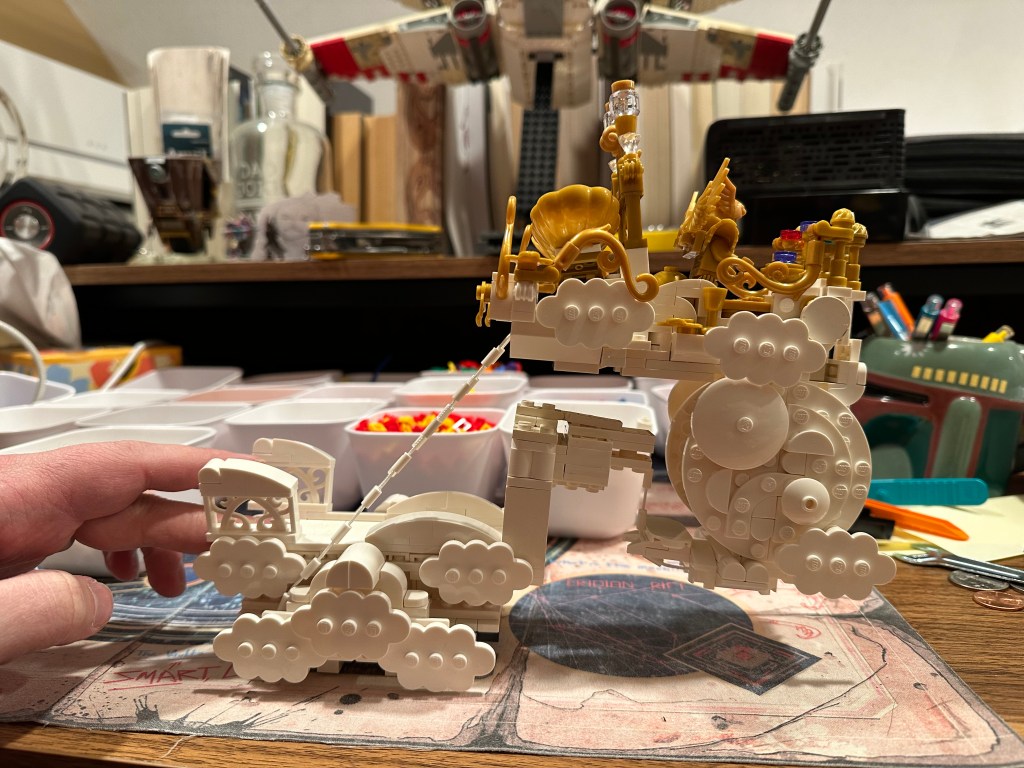
Oh, and the red and yellow pieces? Elevators to the various observation decks. Zoom in and you can see them at intervals inside the tower. And lastly, all Lego sets are built using the same catalog of pieces. The colors can be changed easily enough, and yes, they’ll occasionally make new pieces for sets if needed. But there’s a thing called nice part usage, where you take a piece and use it for something other than what it was designed for. My favorite nice part usage in this set was the sausage. The thirty-two sausages.

Because of the Paris Olympics I really want to surround this with micro-builds of Olympic events. But I’ve not nearly the time or bandwidth for that. Sad. But that’s all for today. Hope you enjoyed my little journey, and if you’ve any fun builds or Lego stories to share, feel free.

Rainbow Invasion

I’ve posted before about my love of Lego, and how I’ve decided this year to apply for Lego Masters once the applications open up. One of the application requirements is to give five examples of MOCs (My Own Creations) that you’re especially proud of. I never was in the habit of taking pics of what I built—I mainly played for fun—so that meant I needed to build five new creations, and I thought it’d be fun to share the design and build process of one of them here.

Also, for those who want a challenge, as you follow the steps, see if you can come up with a piece count guess. I’ll post it at the end.

The very first step in the design process is to figure out the general idea and story. Similar to when writing a book, no? 🙂

This one came from my kid. Most kids have a singular favorite color, especially when they’re younger. Westley’s favorite colors for years now have been pink, golden, silver, and rainbow. He’s also super into math and we’d been working with counting currency. So I decided to make a piggy bank that was also a rainbow.

Now, where do we see rainbows? Up in the sky, with the clouds. So bank, rainbow, clouds. I have a setting, and I have functionality and play (something I prioritize in my Lego builds). I see tons of amazing Lego builds which are super pretty and complex and crazy cool, but they are not meant to be touched. There’s definitely a place for that. I prefer through builds that are meant to be handled and interacted with. You play with Lego, right?

But now I needed to add a story. A rainbow on a cloud presents a nice visual, but why is it there? Because someone wants to turn the white cloud into rainbow colors, of course. Cause chaos! Be crazy! Just be careful you don’t step on that dropped piece while bare footed.

The final aspect, one I knew I wanted to try at some point across these builds, was a tensegrity element. For those unfamiliar with the terms (I was until recently), a tensegrity build uses tension to give the appearance of floating. As gravity pulls down, the tension of the strings resist and hold the object in place, pulling from different directions.

Not my build, but an example I found showing a basic tensegrity build.

There’s a science to this, what with center of gravity, balance, equilibrium, and—spoilers—I probably should have thought hard about that early on.

Looking through my photos, I probably should have taking more pics throughout the process, but I’ll explain as best I can in chronological order. First up: the coin sorter and how to make a large, curved rainbow.

I didn’t take a picture of the whole coin sorter, but you can seen the end of it on the left. The white enclosure sits at an angle, creating a gentle slope, enough that the coins will roll but not so much that they’ll shoot past their respective exits. 1×2 wedges run from the beginning to the last section, tilting the coins so they lean toward the hole. This serves two functions: to aim the coin toward its hole (insert Happy Gilmore reference), and to create the proper elevation shift so the penny and nickel don’t fall out at the same spot.

To control where the coins fall out, I simply added a plate across the top of the hole, making the hole smaller and smaller as we went from nickel to penny to dime. And that’s all it took. And with four coins and six rainbow colors, it was easy to determine where to put the sorter.

Figuring out how to make the curve on the rainbow was another matter entirely. I ended up going with something very similar to what you see above. I tried different sized curves and it soon became apparent that with the size of the build, I needed the large curve I could find. Also, you’d be surprised at to how few pieces exist in the six rainbow colors.

To connect the curved pieces (horizontally aligned) to the rest of the rainbow (vertically aligned) I added a row of 1×1 studs beneath the curves, with one of them being a technic brick with a hole in the middle. That hole attached to a singular stud in the middle of tile pieces, and that connection was firm enough to hold everything in place. Later on, once the backdrop was built, I also attached the curved to the backdrop for a few of the colors.

Here’s a better look at the coin sorter, but also the quasi-framed out rainbow. For the left colors I just used a row of bricks on their end to approximate the size. It ended up being A LOT taller than I was anticipating. About this same time I realized I had very few orange bricks, and next to no purple. Over 100000 Lego accrued over thirty years, and I had fewer than twenty purple bricks. Crazy.

The next step in the process was to figure out how I wanted to incorporate the tensegrity element. If the idea is that tensegrity gives the illusion of floating, what better to float than a cloud? But it couldn’t just be any cloud. There needed to be a reason.

This is the point where I should have considered the science of the tensegrity element, not just the coolness. I thought, you know, what if you dropped the coin on a floating cloud, which it’d roll down, then fall on another floating cloud, then plinko down to the sorter? Yeah. That’d be cool. So without additional thought, I started building.

The basic idea for the story, is that this gold dude (since my kid loves gold) has decided to mess with the clouds and is unleashing the rainbow and its colors on the pristine white puffs. He’s got a supply of each color and a little cauldron to actively add a color. The clam shells behind him are where the coin will initially be set and will then roll off to the next cloud.

This was to be the highest elevation tensegrity element, and you can see on the bottom picture the string (Spider-Man’s webbing) hanging off the back. For this one, it wasn’t too hard to attach the string firmly, since there wasn’t a ton of weight. And now I needed some perspective.

I’ve talked on here before about having aphantasia, an inability to see images in my mind. Makes it hard to visualize a project without actually doing it. And by hard, I mean impossible. I have ideas and concepts that I can define or talk through, but until I start creating, there’s no way I can see what I’m planning. So it was time to throw things together.

A fair amount of what you see above functioned as placeholders. The “clouds” the white minifig was creating looked more like bubbles, the background was random plates, and the lower clouds looked more like mini water towers. But It allowed me to see what I working with.

Each color had a minifig running rampant across the cloud, for which I needed a huge base in order to make it not too cluttered and busy. Red is bathing in the gold guy’s stuff, Orange is pogo sticking and leaving massive blotches of orange, Yellow is aimlessly wandering and staining the floating clouds yellow, Green is climbing the actual rainbow, Blue is skating out of control on a single skate, and Purple biffed it while skiing, making puffs of purple as she landed.

Gold watches from above, attached with transparent pieces for the time being, and the new Noir Detective is on the case, trying to figure out where all this color is coming from. White, meanwhile, the cloud native, is frantically trying to add more clouds to combat the color invasion.

The next step was figuring out how to actually attach the tensegrity cloud at the top. I had to extended it vertically downward so it could attach to something, so it got some round bulk at the bottom. And the cloud it attached to needed a channel for the coin to continue rolling down. Holding the end with my finger, it worked rather well. Just needed to make it a bit more pretty.

At least point, to my future self’s dismay, I was confident I had the tensegrity part down. No matter that I didn’t test the lower cloud balance. If the top one worked so easily, the bottom one should too. Just needed to repeat the same process. What could go wrong?

At this point the build was becoming so large I could no longer build it on my desk. I don’t have a designated Lego building space (not yet, anyway), so I had to move the whole thing to the dining room so I could access it from all sides. I lucked out and found a ton of 2×4 white tiles at the Pick a Brick wall in the Mall of America Lego Store, so I filled out the back of the cloud and added some white to the back of the rainbow. Not enough, but it was progress. I also found there the rest of the transparent windows I was using on the face of the rainbow to keep the coins from falling out.

Now, I had to buy specific parts from Brinklink. As a general rule, I don’t like buying specific parts. I like the challenge of using what’s on hand and being creative. For example, Orange’s pogo stick uses a carrot as the stick. There was probably an easier way by buying the proper orange part. But where’s the fun in that?

That being said, I needed curved pieces on the top, and they needed to be the correct color. I also needed orange and purple bricks. And more Mario clouds. A lot of Mario clouds. So I placed my order and waited.

The next step brought me a lot closer to finishing. White was no longer blowing bubbles, water towers no longer dotted the cloud, and the whole thing looked less rigid and angular. I don’t know about you, but I don’t see many angular clouds.

So what’s the next step? What’s missing? What have I been hinting would be a problem from the very beginning? You got it. Tensegrity.

I wish I had a video to show you how long it took to get that balanced. But at the same time, you don’t want to watch a forty-five minute video of me using kindergarten appropriate profanity. My goal was to have a tensegrity on top of a tensegrity. What this meant was I needed a huge counterweight on the opposite end, which you can clearly see sticks out a ton.

But this also means the who apparatus weighed a ton, so the lowest string needed to be incredibly sturdy. That was tricky. The end result, based on my goal, worked. Was it the prettiest? No. Was it a technical challenge? For sure. But, bonus prizes, the coin drop did work.

If you look closely you’ll see I added chutes to the white backdrop for the coins to roll back and forth in, and the original sort still worked as it did at the beginning of this whole project.

I decided to give the final piece two other versions, given how clunky the top of it looked with the tensegrity and how large I had to make it because of, well, physics. For one, I removed the tensegrity and modified Gold’s cloud, adding it to the top. For the other, I removed Gold entirely, for more of a clean rainbow look. I’ll let you decide which ones you like the most.

But, the build was done. Number three of five for the Lego Masters application. It was over a month from start to finish, much of the delay resulting from sorting pieces and acquiring pieces. I had so many different bins on hand of differently sorted white pieces. Several times I ran out of 1×2 and 1×4 plates as well as any and all curved white pieces, and I need to thank Roseville’s Bricks and Minifigs store for having a well-stocked bulk bin for me to pull several bags of white pieces from. I was actually there the day after completing this and almost had a PTSD episode looking at that white bin. 🙂

But what do you do when you’re done with a build? Sit there and enjoy your work? Revel in its majesty? What if your kindergartener says he loves the scavenger hunt aspect of the build and wants to tear it apart so he can make his own?

You tear it apart.

With how hard it is to keep little kids motivated, it’s surprising how focused they get when the activity is destruction. That massive pile is every piece in the build. Remember when I mentioned piece count at the beginning? Have a guess? Before I sorted and counted I said at least 2500. Technically, I wasn’t wrong…

Final piece count: 5328.

And that’s that. Ideation to construction to completion. And then destruction. Now on to the next project, one dedicated to my mom, and likely all moms out there.